Installing a new website
Creating a new website using Aegir is really, really easy, and is probably one of the most exciting aspects of Aegir. The very idea of clicking a button and suddenly being able to visit a new site may even be the prospect that drove you to installing Aegir in the first place.
To create a site you must have created a Platform first, which is the codebase, typically a copy of Drupal core, on which to place your new site. Read the Platform documentation if you have not yet completed this stage.
The Site form
Much like your Platform, a site is represented as a node in the Aegir frontend. To create a new site, you must create a new Site node.
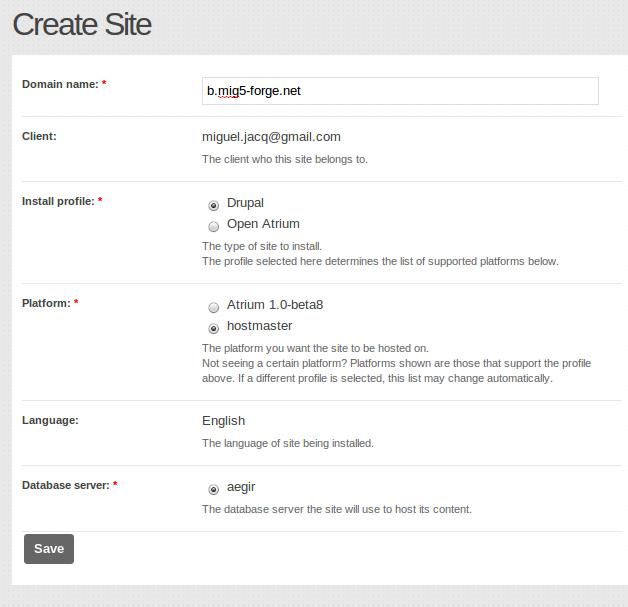
The site node is a form requiring various attributes to be filled out in order to accurately advise the Aegir system about what kind of site you wish to create. These fields commonly are:
- Domain name - the site name. This becomes the title of the node.
- Install Profile - the install profile to use to install this site. This has a dramatic effect on the end result of your site
- Platform - the platform to install the site on. The list of available platforms is based on what profile you choose above (in other words, which platforms support that install profile. The choice of platform also implies which web server hosts that platform, so this is why 'web server' is not a selectable option in the form.
- Language - what language install the site with. This is dependent on the profile or platform chosen.
- Database server - which database server to install the database on.
Below is an example of the site form.